Redux - 자바스크립트 앱을 위한 예측 가능한 상태 컨테이너. | Redux
자바스크립트 앱을 위한 예측 가능한 상태 컨테이너.
ko.redux.js.org
https://github.com/reduxjs/redux-devtools/tree/main/extension
GitHub - reduxjs/redux-devtools: DevTools for Redux with hot reloading, action replay, and customizable UI
DevTools for Redux with hot reloading, action replay, and customizable UI - GitHub - reduxjs/redux-devtools: DevTools for Redux with hot reloading, action replay, and customizable UI
github.com
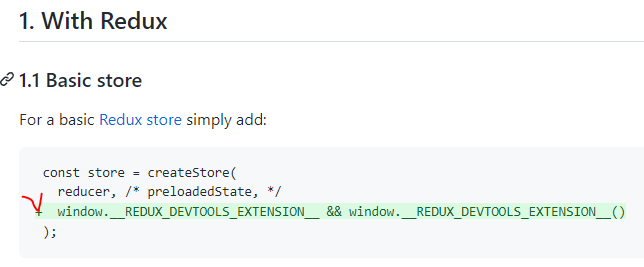

store 만들 때, 두번째 인수로 넣어주면 됨!
1) store 만들기
2) getState() 선언하기 // 상태값 지정
3) dispatch() // Action객체를 들고 reducer 호출 후, 상태를 Update
4) getState()로 상태 얻은 후
5) subscribe()
// 각각 div들의 연관성이 없어서 수정이 용이
자바스크립트에서 redux 이해하기
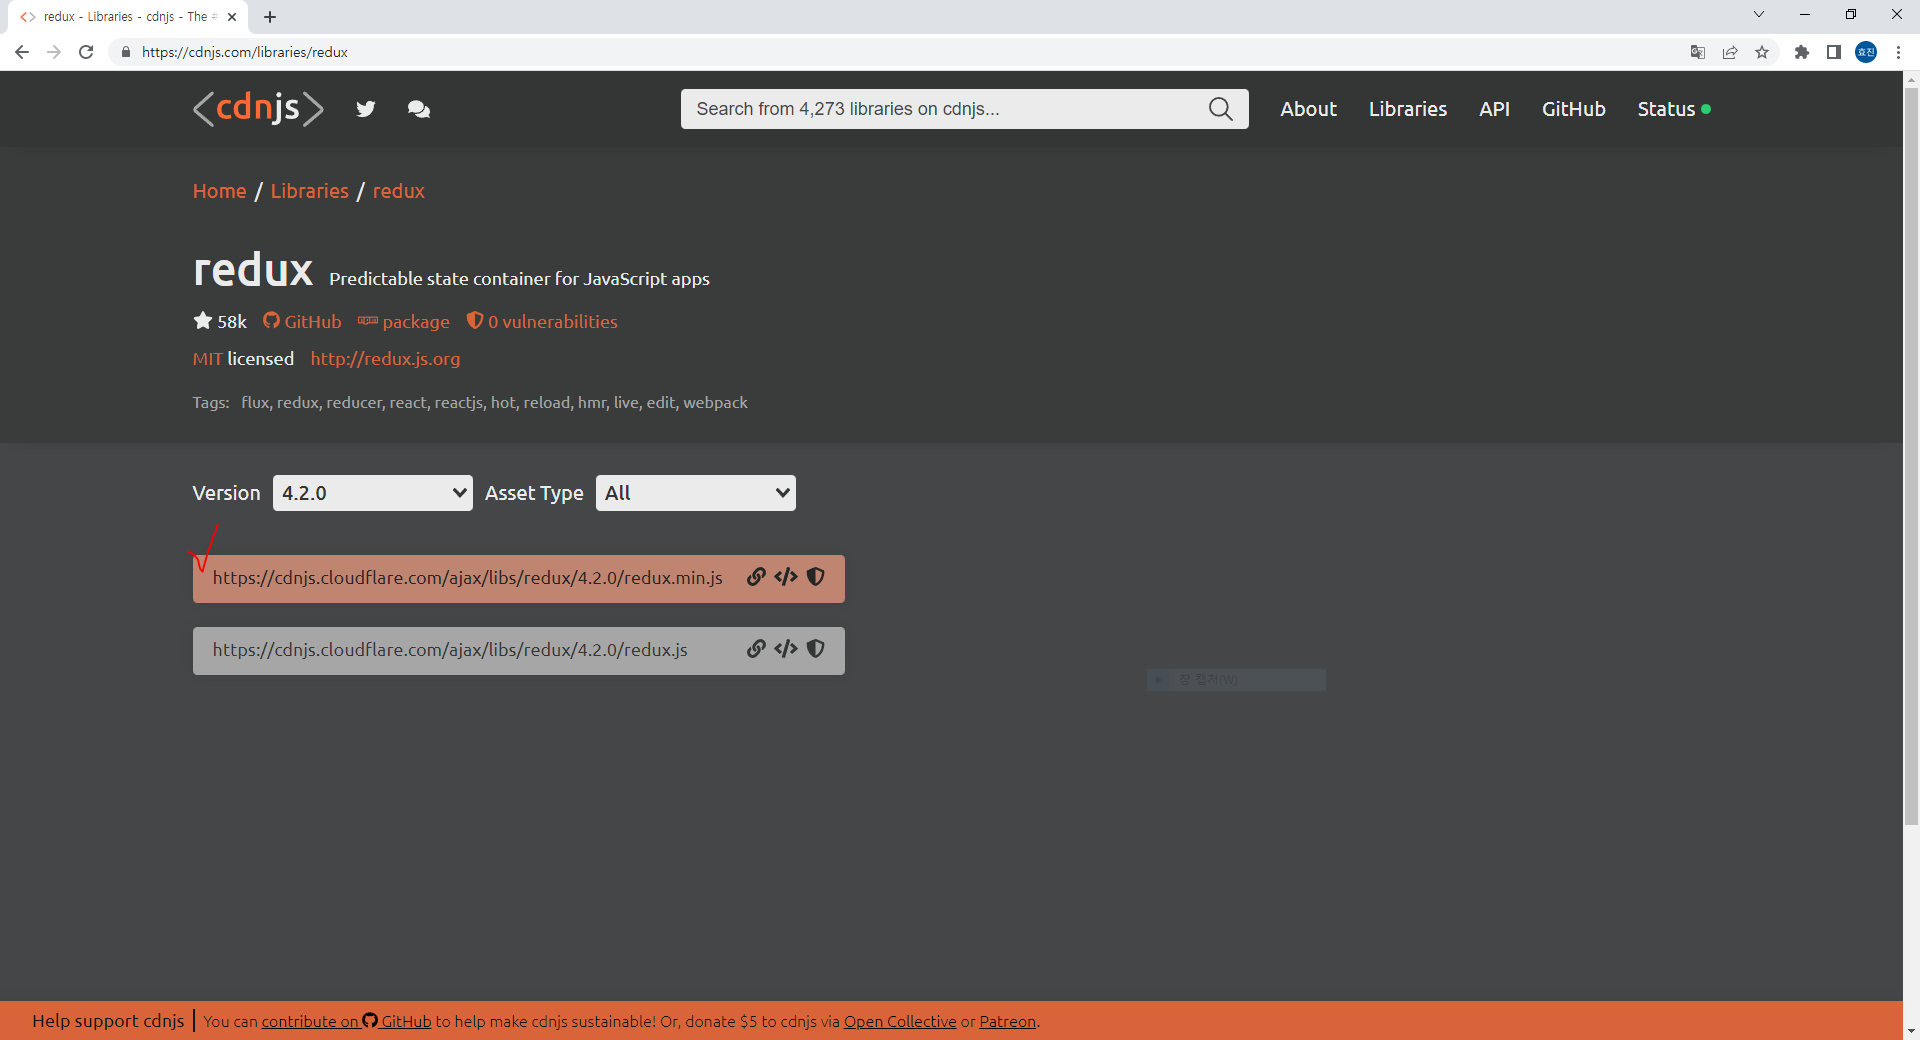
https://cdnjs.com/libraries/redux
버튼을 누르면 그 색상으로 모든 div의 background-color를 바꾸고싶다 !

without.html(redux 사용 X)
div가 추가될 때마다 일일이 같이 추가해줘야 함 // 불편
<!DOCTYPE html>
<html lang="en">
<head>
    <meta charset="UTF-8">
    <meta http-equiv="X-UA-Compatible" content="IE=edge">
    <meta name="viewport" content="width=device-width, initial-scale=1.0">
    <title>Document</title>
    <style>
        .component {
            border: 5px solid black;
            padding: 20px;
        }
    </style>
</head>
<body>
    <div id="red"></div>
    <div id="green"></div>
    <div id="yellow"></div>
    <script>
        function red() {
            document.querySelector('#red').innerHTML = `
                <div class="component">
                    <h1>red</h1>
                    <button onClick="document.querySelector('#red').style.background='red'
                    document.querySelector('#green').style.background='red'
                    document.querySelector('#yellow').style.background='red'">redColor</button>
                </div>
            `
        }
        red();
        function green() {
            document.querySelector('#green').innerHTML = `
                <div class="component">
                    <h1>green</h1>
                    <button onClick="document.querySelector('#green').style.background='green'
                    document.querySelector('#red').style.background='green'
                    document.querySelector('#yellow').style.background='green'">greenColor</button>
                </div>
            `
        }
        green();
        function yellow() {
            document.querySelector('#yellow').innerHTML = `
                <div class="component">
                    <h1>yellow</h1>
                    <button onClick="document.querySelector('#yellow').style.background='yellow'
                    document.querySelector('#red').style.background='yellow'
                    document.querySelector('#green').style.background='yellow'">yellowColor</button>
                </div>
            `
        }
        yellow();
    </script>
</body>
</html>
with.html(redux 사용 O)
<!DOCTYPE html>
<html lang="en">
<head>
    <meta charset="UTF-8">
    <meta http-equiv="X-UA-Compatible" content="IE=edge">
    <meta name="viewport" content="width=device-width, initial-scale=1.0">
    <title>Document</title>
    <script src="https://cdnjs.cloudflare.com/ajax/libs/redux/4.2.0/redux.min.js"></script>
    <style>
        .component {
            border: 5px solid black;
            padding: 20px;
        }
    </style>
</head>
<body>
    <div id="red"></div>
    <div id="green"></div>
    <div id="yellow"></div>
    <script>
        // Redux

        // 스토어 만들기
        // Redux.createStore(reducer)
        function reducer(state, action) {
            let newState;
            if(state === undefined) {
                return {color: "gray"};
            }
            if(action.type === "CHANGE_COLOR") {
                newState = Object.assign({}, state, { color: action.color })
                console.log(newState);
            }
            return newState;
        }
        let store = Redux.createStore(reducer, window.__REDUX_DEVTOOLS_EXTENSION__ && window.__REDUX_DEVTOOLS_EXTENSION__());

        function red() {
            // state 값에 접근하려면 getState() 함수를 실행
            let state = store.getState();
            document.querySelector('#red').innerHTML=`
                <div class="component" style="background-color:${state.color}">
                    <h1>red</h1>
                    <button onClick="store.dispatch({type:'CHANGE_COLOR', color:'red'})">
                        redColor
                    </button>
                </div>
            `;
        }
        // 구독
        store.subscribe(red);
        red();

        function green() {
            let state = store.getState();
            document.querySelector('#green').innerHTML=`
                <div class="component" style="background-color:${state.color}">
                    <h1>green</h1>
                    <button onClick="store.dispatch({type:'CHANGE_COLOR', color:'green'})">
                        greenColor
                    </button>
                </div>
            `;
        }
        // 구독
        store.subscribe(green);
        green();

        function yellow() {
            let state = store.getState();
            document.querySelector('#yellow').innerHTML=`
                <div class="component" style="background-color:${state.color}">
                    <h1>yellow</h1>
                    <button onClick="store.dispatch({type:'CHANGE_COLOR', color:'yellow'})">
                        yellowColor
                    </button>
                </div>
            `;
        }
        // 구독
        store.subscribe(yellow);
        yellow();
    </script>
</body>
</html>
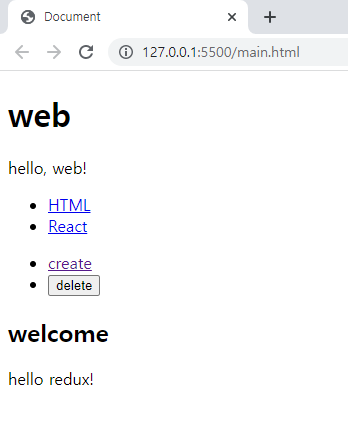
main.html
<!DOCTYPE html>
<html lang="en">
<head>
    <meta charset="UTF-8">
    <meta http-equiv="X-UA-Compatible" content="IE=edge">
    <meta name="viewport" content="width=device-width, initial-scale=1.0">
    <script src="https://cdnjs.cloudflare.com/ajax/libs/redux/4.2.0/redux.min.js"></script>
    <title>Document</title>
</head>
<body>
    <div id="subject"></div>
    <div id="toc"></div>
    <div id="control"></div>
    <div id="content"></div>

    <script>
        function subject() {
            document.querySelector('#subject').innerHTML = `
                <header>
                    <h1>web</h1>
                    hello, web!
                </header>
            `
        }

        function toc() {
            // 상태값 지정
            let state = store.getState();
            let liTags = "";
            state.contents.forEach(li=>{
                liTags = liTags + `
                    <li><a href="${li.id}.html" onClick="
                        event.preventDefault();
                        let action = {type:'SELECT', id:${li.id}}
                        store.dispatch(action);
                        ">${li.title}</a></li>
                `;
            })
            document.querySelector('#toc').innerHTML = `
                <nav>
                    <ul>
                        ${liTags}
                    </ul>
                </nav>
            `
        }

        function control() {
            document.querySelector('#control').innerHTML = `
                <ul>
                    <li><a href="#" onclick="
                        event.preventDefault();
                        store.dispatch({
                            type:'CHANGE_MODE',
                            mode:'create'
                        })
                        ">create</a></li>
                    <li><input onClick="
                        store.dispatch({
                            type:'DELETE'
                        })"
                        type="button" value="delete"></li>
                </ul>
            `
        }

        function content() {
            let state = store.getState();
            // 상태의 모드가 create면
            if(state.mode === 'create') {
                document.querySelector('#content').innerHTML = `
                    <article>
                        <form onSubmit="
                            event.preventDefault();
                            let title = this.title.value;
                            let desc = this.desc.value;
                            store.dispatch({
                                type:'CREATE',
                                title: title,
                                desc: desc
                            })
                        ">
                            <p><input type="text" name="title" placeholder="title"/></p>
                            <p><textarea name="desc" placeholder="description"></textarea></p>
                            <p><button type="submit">입력</button></p>
                        </form>
                    </article>
                `
            }
            // 상태의 모드가 read면
            else if(state.mode ==='read') {
                let aTitle, aDesc;
                state.contents.forEach(li=>{
                    if(li.id === state.selected_id){
                        aTitle = li.title;
                        aDesc = li.desc;
                    }
                })
                document.querySelector('#content').innerHTML = `
                    <article>
                        <h2>${aTitle}</h2>
                        ${aDesc}
                    </article>
                `;
            }
            // 상태모드가 welcome
            else if(state="welcome") {
                document.querySelector('#content').innerHTML = `
                    <article>
                        <h2>welcome</h2>
                        hello redux!
                    </article>
                `
            }
        }

        // reducer 함수
        // reducer가 return해주는 값이 상태 !
        function reducer(state, action){
            // 상태의 초기값 설정
            if(state === undefined) {
                return {
                    max_id: 2,
                    mode:'welcome',
                    selected_id: null,
                    contents: [
                        { id:1, title:'HTML', desc:'HTML is...' },
                        { id:2, title:'React', desc: 'React is...' }
                    ]
                }
            }
            let newState;
            if(action.type === "SELECT") {
                newState = Object.assign({}, state, {
                    selected_id: action.id,
                    mode: 'read'
                })
            } else if(action.type ==="CREATE") {
                let newMaxid = state.max_id + 1;
                // 이거나
                // let newContents = state.contents.concat();
                // newContents.push({id:newMaxid, title: action.title, desc:action.desc});
                // 이거나 똑같음
                let newContents = [ ...state.contents,
                {id:newMaxid, title: action.title, desc:action.desc}
                ]
                newState = Object.assign({}, state, {
                    max_id: newMaxid,
                    contents: newContents,
                    mode: 'welcome'
                })
            }
            else if(action.type === "CHANGE_MODE") {
                newState = Object.assign({}, state, {
                    mode: action.mode
                })
            } else if(action.type === "DELETE") {
                let newContents = state.contents.filter(li=>{
                    return li.id !== state.selected_id
                })
                newState = Object.assign({}, state, {
                    contents: newContents,
                    mode: 'welcome'
                })
            }
            console.log(action, state, newState);
            return newState;
        }

        // 스토어 생성
        let store = Redux.createStore(reducer);
        // 스토어 구독하기 - state값이 변경되면 다시 실행되도록
        store.subscribe(content);
        store.subscribe(toc);
        subject();
        toc();
        control();
        content();
    </script>
</body>
</html>'Stack > React' 카테고리의 다른 글
| [React] Redux Middleware - 리덕스 미들웨어 (0) | 2022.07.14 |
|---|---|
| [React] Redux - 리덕스 (0) | 2022.07.12 |
| [React] git clone 한 뒤, 오류 없이 npm start 하는 방법 (0) | 2022.07.09 |
| [React] 고객관리 사이트 구현 (Server) (0) | 2022.07.07 |
| [React] 고객관리 사이트 구현 (Client) (0) | 2022.07.07 |